Are you ready to harness the power of the sun and take control of your energy future? Installing your own DIY solar panel setup is a rewarding project that can significantly reduce your electricity bills and carbon footprint. While it might seem daunting, with the right guide, even a beginner can successfully set up a basic solar energy system.
Why Choose a DIY Solar Panel Setup?

The primary appeal of a DIY solar panel setup lies in the substantial cost savings. By eliminating professional installation labor and markups, you can often recoup your investment faster. Furthermore, a DIY approach provides an invaluable understanding of your home’s energy system, empowering you to maintain and potentially expand it over time.
- Cost Efficiency: Save thousands on installation labor.
- Educational Value: Gain practical knowledge of solar energy systems.
- Energy Independence: Reduce reliance on utility companies.
- Customization: Design a system tailored exactly to your energy needs.
Phase 1: Planning Your DIY Solar Panel Setup
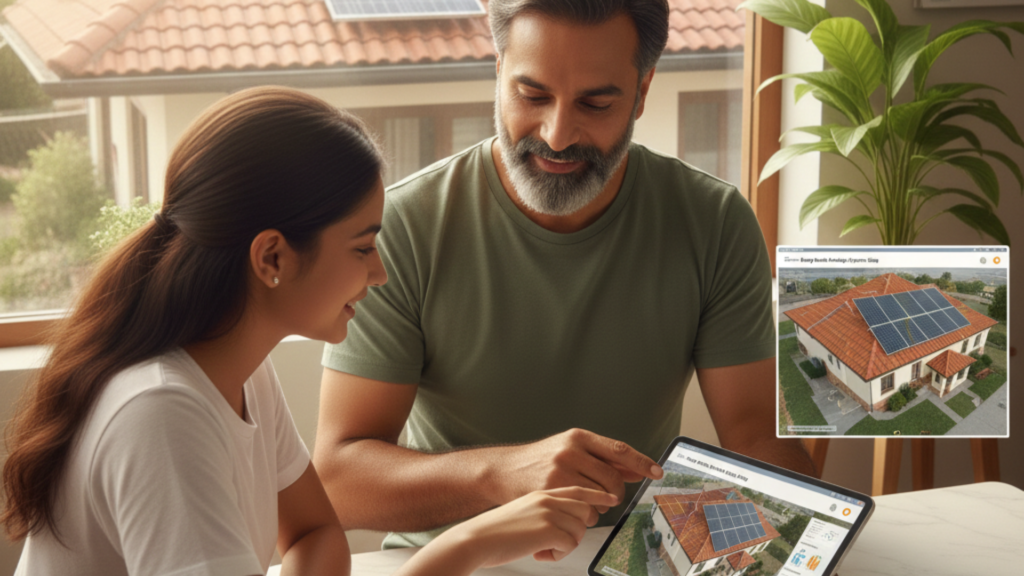
Successful installation begins with meticulous planning. Skipping this step is the fastest way to run into costly and time-consuming problems.
1. Calculate Your Energy Needs
Before buying any components for your DIY solar panel setup, you must know how much power you need to generate.
- Review Utility Bills: Look at your last 12 months of utility bills to find your average daily or monthly energy consumption (in kilowatt-hours or kWh).
- Target Load: Decide if you want to power your entire home or just critical loads (e.g., lights, refrigerator, internet).
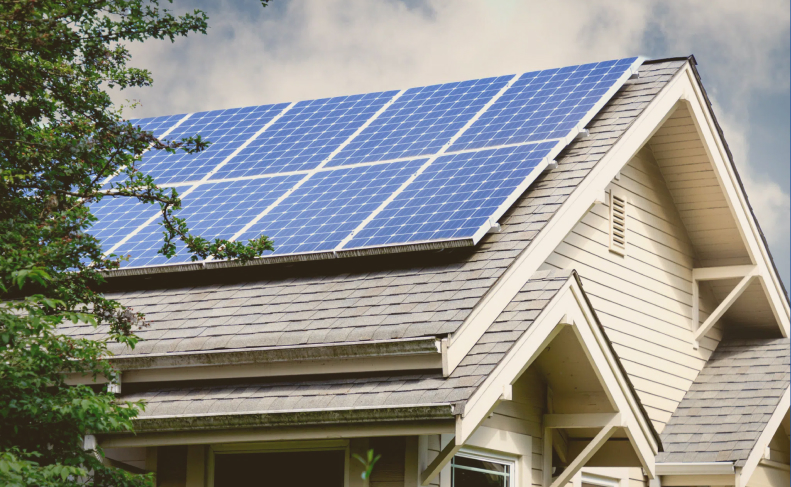
2. Assess Your Location and Sunlight Exposure
The efficiency of your DIY solar panel setup depends heavily on your geographic location and roof orientation.
- Sun Hours: Determine the average number of peak sun hours your location receives daily.
- Shading Analysis: Use an app or a simple manual method to check for obstructions (trees, chimneys, vents) that cast shadows on your planned installation area, as even partial shading can drastically reduce system output.
- Roof Inspection: Ensure your roof is structurally sound and can handle the added weight of the solar panels and mounting hardware.
3. Determine System Size and Components
Using your energy needs and sun hour data, you can calculate the required system size (in Watts or Kilowatts).
- Required Daily Watt-Hours ÷ Peak Sun Hours = Required Panel Watts
Once you have the size, you can start selecting components.
| Component | Description | Crucial Function in DIY Solar Panel Setup |
| Solar Panels | Convert sunlight into DC electricity. | The energy generation source. |
| Inverter | Converts DC power from panels to usable AC power for your home. | The system’s ‘brain’ – essential for household use. |
| Mounting/Racking | Secures the panels to the roof or ground. | Provides structural integrity and optimal tilt/orientation. |
| Charge Controller | Regulates the voltage/current from panels to the batteries (for off-grid systems only). | Prevents overcharging/damage to batteries. |
| Batteries | Stores excess generated electricity (for off-grid or hybrid systems). | Ensures power availability during the night or outages. |
| Wiring and Safety | Cables, fuses, breakers, and disconnect switches. | Ensures safe and efficient power flow and system protection. |
4. Navigate Permits and Safety Codes
This is a critical, non-negotiable step for any grid-tied DIY solar panel setup.
- Consult Local Authorities: Before purchasing equipment, contact your local building department to understand the necessary permits, inspection requirements, and fire safety setbacks.
- Utility Interconnection: If you plan to connect to the utility grid (Net Metering), you must apply for and receive approval from your utility company.
Phase 2: Installing Your DIY Solar Panel Setup
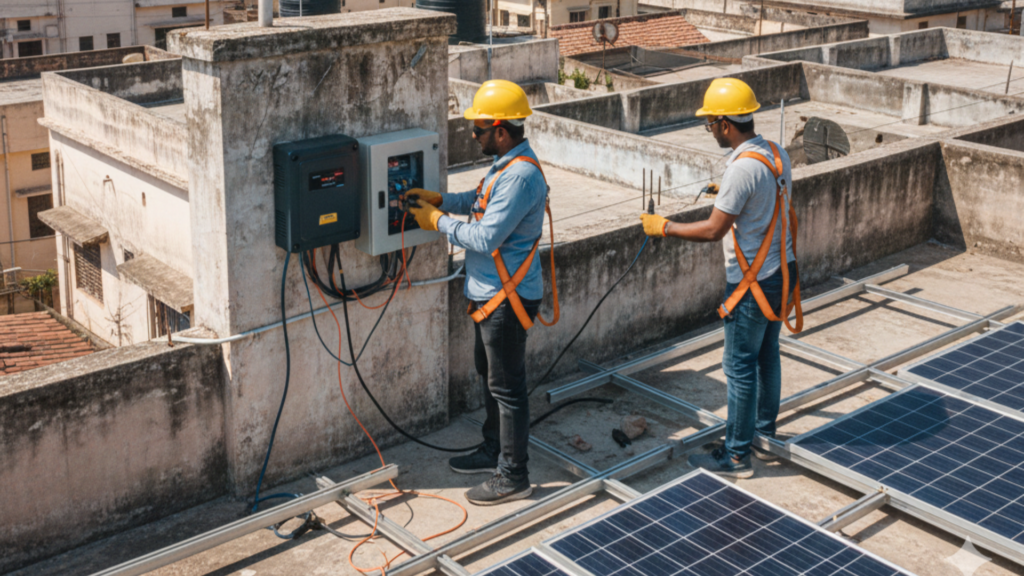
With your plan and components ready, you can move on to the physical installation. Safety should be your absolute priority. Always work with a partner and use appropriate fall protection gear when on the roof.
Step 1: Install the Mounting System (Racking)
The racking system secures your panels and is bolted directly into the structural members of your roof (rafters).
- Locate Rafters: Use a stud finder or tap test to locate the roof rafters.
- Install Standoffs/Flashings: Drill pilot holes and install the roof attachments (L-feet or standoffs). Apply a waterproof sealant (flashing) around all roof penetrations to prevent leaks.
- Attach Rails: Bolt the aluminum rails onto the standoffs. Ensure the rails are perfectly level and properly spaced to accommodate your panels.
Step 2: Wiring and Grounding
Before placing the panels, you must run the necessary conduits and install the grounding system.
- Run Conduits: Install weather-tight conduits from the planned inverter location (usually near the main electrical panel) up to the roof-mounted junction box.
- Grounding: Install a grounding wire connecting the mounting rails to the main grounding rod or grounding system of your home’s electrical panel. This is vital for safety and lightning protection.
Step 3: Mount the Solar Panels
Carefully lift and place the solar panels onto the mounted rails.
- Secure Panels: Use mid-clamps (between panels) and end-clamps (at the end of rows) to securely fasten the panels to the rails.
- Module Connections: Connect the panels using the integrated MC4 connectors. Most panels are wired in series to increase voltage, which is more efficient for the inverter.
Step 4: Install the Inverter and Electrical Connections
The inverter is the heart of your DIY solar panel setup.
- Mount the Inverter: Mount the inverter (usually near the electrical panel) in a well-ventilated, dry location out of direct sunlight.
- DC Wiring: Connect the string of panels (DC power) to the DC Disconnect Switch, and then connect the switch to the inverter’s DC input.
- AC Wiring: Connect the inverter’s AC output to the AC Disconnect Switch. From the AC disconnect, wire into a dedicated breaker on your home’s main electrical service panel.
| Connection Point | Voltage Type | Safety Priority |
| Panel-to-Panel | High DC Voltage | Always disconnect power before handling. |
| Inverter to Panel Array | High DC Voltage | Ensure polarity is correct (positive to positive, negative to negative). |
| Inverter to Main Panel | AC Voltage (120/240V) | Requires utility approval and inspection. |
Step 5: System Startup and Testing
Once all wiring is complete and inspected (and after the utility gives the final green light for grid-tied systems), you can start up your system.
- Close Breakers: Turn on the DC and AC disconnect switches.
- Monitor Inverter: The inverter will power up, perform system checks, and begin converting the DC power from your panels into usable AC power.
- Check Production: Use the inverter’s display or monitoring app to confirm that the system is generating power as expected.
Maintenance for Your DIY Solar Panel Setup
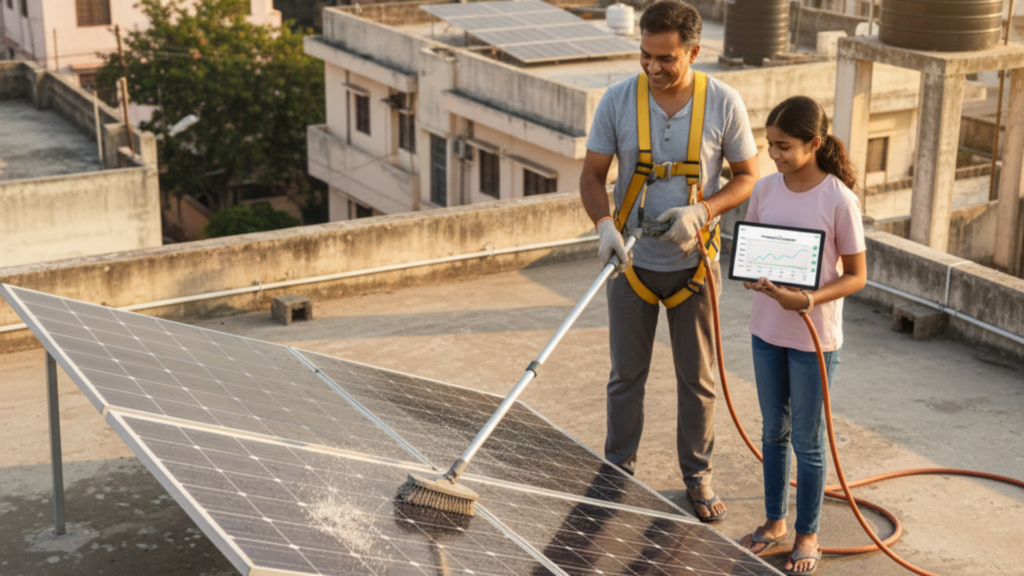
A DIY solar panel setup requires minimal maintenance, but consistent checks ensure peak performance.
- Cleaning: Clean your panels 1-2 times a year, especially after periods of dust or heavy pollen, using a soft brush and water. Never use abrasive materials.
- Inspection: Periodically check the mounting hardware, wiring, and seals for any signs of corrosion, loose connections, or damage from weather or pests.
- Monitoring: Regularly check your production data via the inverter’s monitoring system. A sudden drop in power output often indicates an issue.
Conclusion: Powering Your Future with a DIY Solar Panel Setup
Embarking on a DIY solar panel setup is an investment in your home, your finances, and the environment. While the process requires careful planning and a commitment to safety and local codes, the sense of accomplishment and the reward of free electricity are well worth the effort. By following this complete step-by-step guide, you are now equipped with the knowledge to begin your journey toward energy independence.
Frequently Asked Questions (FAQ) about DIY Solar Panel Setup
Q1: How long does a typical DIY solar panel setup take?
A: For an average 5kW system, the physical installation can take a skilled homeowner and a helper 2 to 4 full weekends. The permitting and approval process, however, can take anywhere from 4 to 12 weeks.
Q2: Is a DIY solar panel setup safe?
A: When done correctly and following all local electrical codes, yes. The biggest risks are falling from the roof and dealing with high DC voltage. Always turn off all disconnects and wear safety gear. If you are uncomfortable with the high-voltage AC wiring to your main panel, hire a licensed electrician for that final connection.
Q3: Can I go completely off-grid with a DIY solar panel setup?
A: Yes, but off-grid systems are more complex and expensive as they require a battery bank and charge controller. A grid-tied system is simpler and cheaper for beginners.
Q4: Will I need to register my DIY solar panel setup?
A: Yes, nearly all grid-tied systems must be permitted by the local jurisdiction and approved for interconnection by the utility company. Failure to do so is illegal and dangerous.
Q5: How does Net Metering work, and why is it important for a grid-tied DIY solar panel setup?
A: Net Metering is a billing system that allows your electricity meter to run backward when you produce excess power.
- How it Works: When your solar panels generate more electricity than your home consumes, the surplus is fed back to the utility grid, and you receive credit. When you need power (like at night), you draw from the grid, using up your banked credits.
- Importance: It is crucial for grid-tied systems as it provides the mechanism to “store” your excess energy economically, maximizing your savings.