")
Finding reliable residential rooftop solar installers is the most critical step for any Indian homeowner planning to switch to green energy. With electricity tariffs rising and government initiatives like the PM Surya Ghar Muft Bijli Yojana gaining momentum, the demand for solar is skyrocketing. However, the process from signing up to the final “power on” remains a mystery for many.
This guide breaks down the entire journey. We will explore how professional residential rooftop solar installers manage everything—from the initial site visit to the final net metering—ensuring your system lasts for 25 years.
The Solar Journey at a Glance
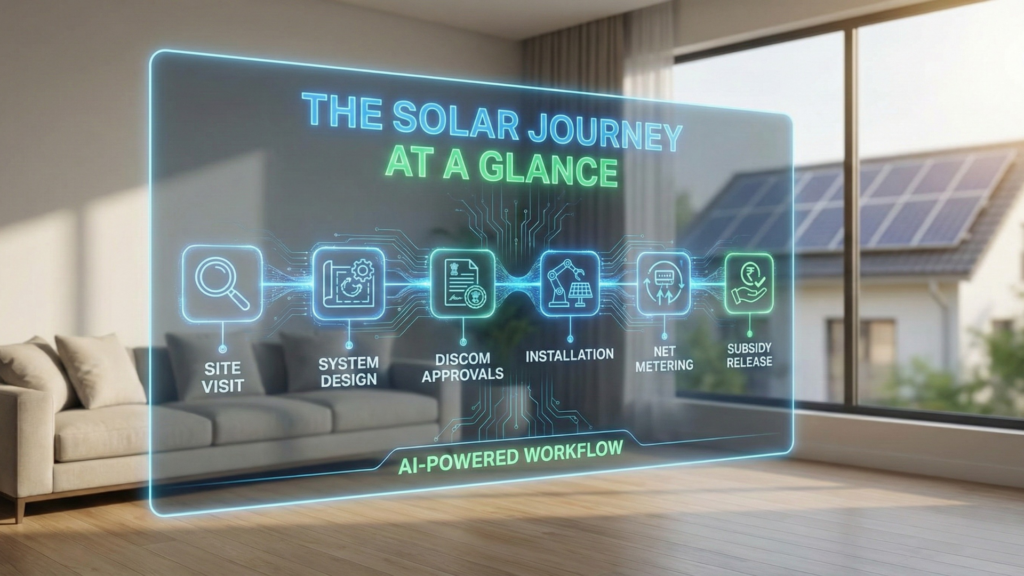
Before we dive into the details, here is a snapshot of what to expect. The timeline can vary depending on your state DISCOM (Distribution Company) and the efficiency of your installer.
Table 1: Estimated Timeline for Residential Solar Installation in India
| Phase | Activity | Estimated Time | Responsibility |
| Phase 1 | Site Survey & Consultation | 1-3 Days | Installer |
| Phase 2 | System Design & Commercial Proposal | 2-4 Days | Installer |
| Phase 3 | Discom Feasibility Approval | 7-21 Days | Installer/DISCOM |
| Phase 4 | Material Delivery & Installation | 2-4 Days | Installer |
| Phase 5 | Net Metering & Commissioning | 7-15 Days | DISCOM |
| Phase 6 | Subsidy Release (PM Surya Ghar) | ~30 Days (Post-Install) | Govt. (DBT) |
| Total | Site Visit to Power On | 30 – 45 Days | Joint Effort |
Note: Timelines for net metering approvals (Phase 3 & 5) are subject to local state electricity board regulations and can sometimes take longer in specific states like Tamil Nadu or Maharashtra compared to Gujarat.
Why Choosing the Right Residential Rooftop Solar Installers Matters
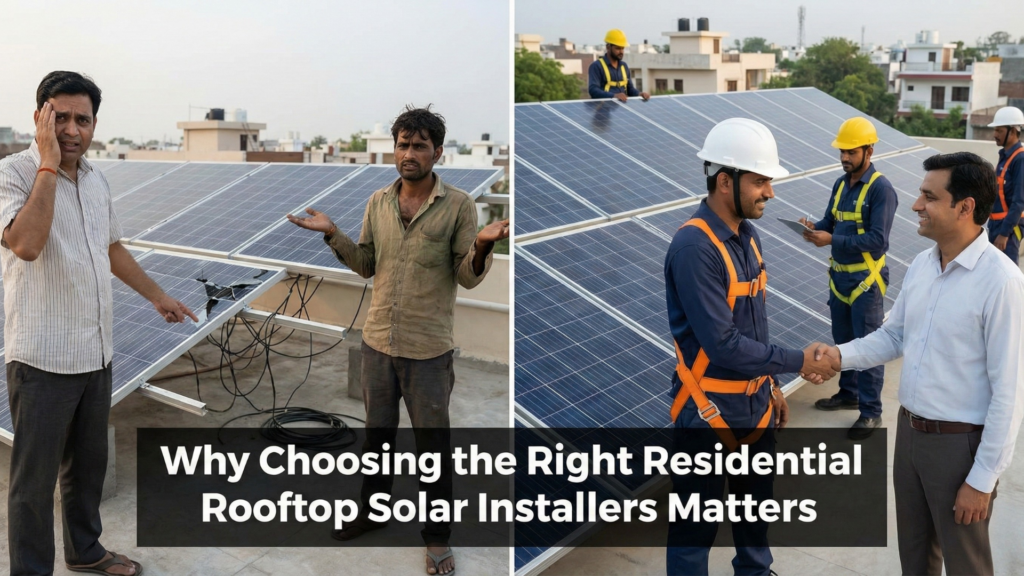
The solar market in India is flooded with vendors, from large EPC (Engineering, Procurement, and Construction) companies to small local electricians. This makes the choice difficult. The term residential rooftop solar installers refers to the professionals who don’t just bolt panels to your roof, but handle the engineering, safety, and—crucially—the government paperwork.
A qualified installer will:
- Assess your roof’s structural integrity (not just the area).
- Calculate your shadow-free area accurately to prevent generation loss.
- Handle all liaisoning with the DISCOM (getting the net meter approved is often the hardest part).
- Ensure the system is earthed and protected against lightning surges.
If you choose an inexperienced vendor, you might face delays in subsidy disbursement or, worse, a leaky roof and a system that underperforms.
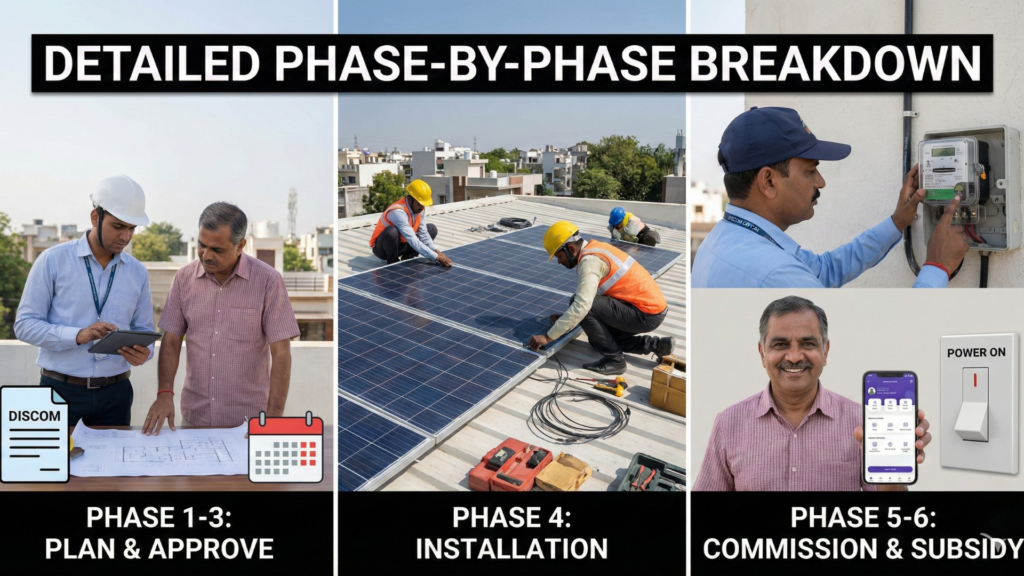
Detailed Phase-by-Phase Breakdown with Your Residential Rooftop Solar Installers
Phase 1: Site Survey and Technical Assessment
The clock starts ticking the moment you contact a solar company. Professional residential rooftop solar installers will never give you a final quote over the phone. They must visit your home.
During this visit, the engineer will check:
- Roof Orientation: In India, South-facing roofs are ideal. If your roof faces East or West, the generation will be slightly lower, and the installer must account for this in the design.
- Shadow Analysis: They will look for water tanks, nearby tall buildings, or trees that might cast shadows between 9 AM and 4 PM.
- Load Analysis: They will review your electricity bill to suggest the right system size (e.g., 3kW, 5kW) to maximize your savings under the net metering policy.
Phase 2: System Design and Proposal
Once the data is collected, the engineering team creates a 3D layout of your roof. This is where the difference between amateur and expert residential rooftop solar installers becomes obvious. Experts will provide a blueprint showing exactly where the panels, inverter, and walkways will be placed to allow for easy cleaning.
You will receive a commercial proposal detailing:
- Brand of Panels: (e.g., Adani, Waaree, Tata Power – look for DCR panels if applying for subsidy).
- Inverter Details: (String inverter vs. Micro-inverter).
- Structure Material: (Ideally Hot Dip Galvanized Iron to prevent rust).
- Warranty Terms: Performance warranty (25 years) vs. Product warranty (10-12 years).
Phase 3: The Paperwork (DISCOM Feasibility)
This is the “waiting game.” Before a single screw is drilled, your installer must apply to your local electricity board (DISCOM) for “Feasibility Approval.”
This approval confirms that the local transformer has the capacity to accept the surplus power your solar plant will generate.
- Process: The installer submits your documents (Aadhaar, Electricity Bill, Property Tax receipt) to the National Portal for Rooftop Solar or the state portal.
- Timeline: 1 to 3 weeks.
Phase 4: Installation Day
Once the DISCOM gives the green light, the physical work begins. For a standard 3kW to 5kW system, experienced residential rooftop solar installers can complete the physical installation in 2 to 3 days.
Day 1: Material delivery and lifting structure to the roof.
Day 2: Fixing the mounting structure (civil work). This must be done carefully to ensure no water leakage occurs in the future.
Day 3: Mounting panels, setting up the inverter, DC/AC cabling, and earthing installation.
Safety Tip: Ensure your installer uses separate Earthing pits for the Inverter and the Lightning Arrester (LA). This is a mandatory safety standard in India.
Phase 5: Net Metering and Commissioning
The system is installed, but you cannot switch it on yet! You need a “Net Meter” (Bi-directional meter).
- Work Completion Report (WCR): Your installer submits a WCR to the DISCOM stating the plant is ready.
- Inspection: A DISCOM officer visits your home to verify the installation matches the approved design and safety standards.
- Meter Change: The old meter is replaced with a Net Meter. This meter records both the power you take from the grid and the power you give back.
Only after the Net Meter is sealed and signed off can you officially turn the “Power On.”
Phase 6: Subsidy Release
Under the PM Surya Ghar Muft Bijli Yojana, the subsidy (e.g., ₹78,000 for a 3kW system) is transferred directly to your bank account. However, this only happens after the commissioning certificate is generated by the DISCOM and uploaded to the portal by your installer.
How to Evaluate Residential Rooftop Solar Installers
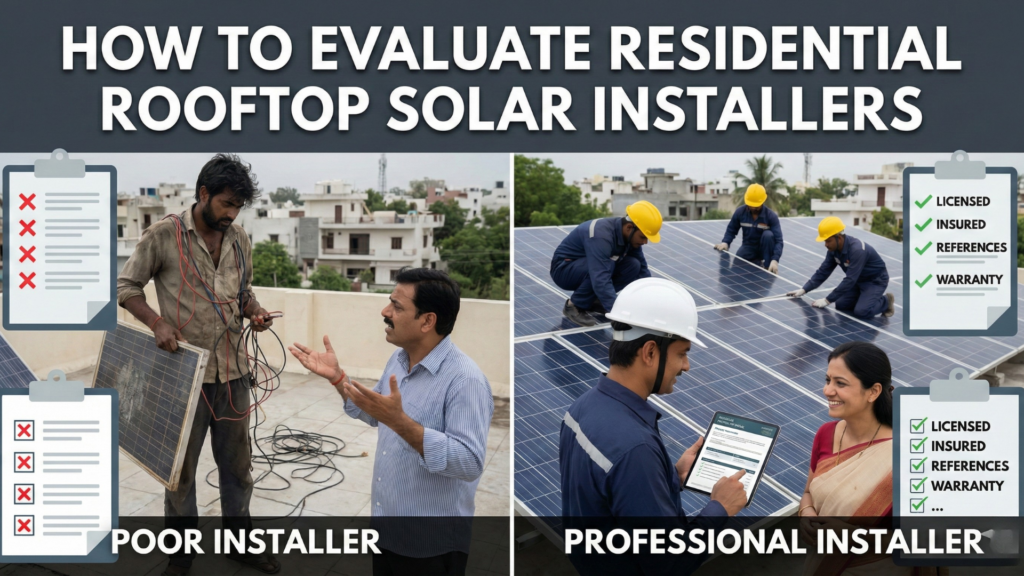
Since the installer is your partner for the next 25 years, you must vet them carefully. Use the checklist below to compare different vendors.
Table 2: Checklist for Selecting the Best Solar Installer
| Criteria | What to Look For | Why it Matters |
| Experience | 3+ Years in the market | Solar is a long-term game; “fly-by-night” operators vanish after installation. |
| In-House Team | Own engineering & labor teams | Installers who outsource everything often lack quality control. |
| Portfolio | References in your city | Ask to see a system they installed 2 years ago, not just yesterday. |
| Liaisoning | Full DISCOM support included | You do not want to be running to the electricity office yourself. |
| AMC Services | Annual Maintenance Contract | Panels need cleaning and electrical checkups. Does the installer offer this? |
| O&M App | Remote Monitoring App | You should be able to see your daily generation on your phone. |
Major Challenges Residential Rooftop Solar Installers Face
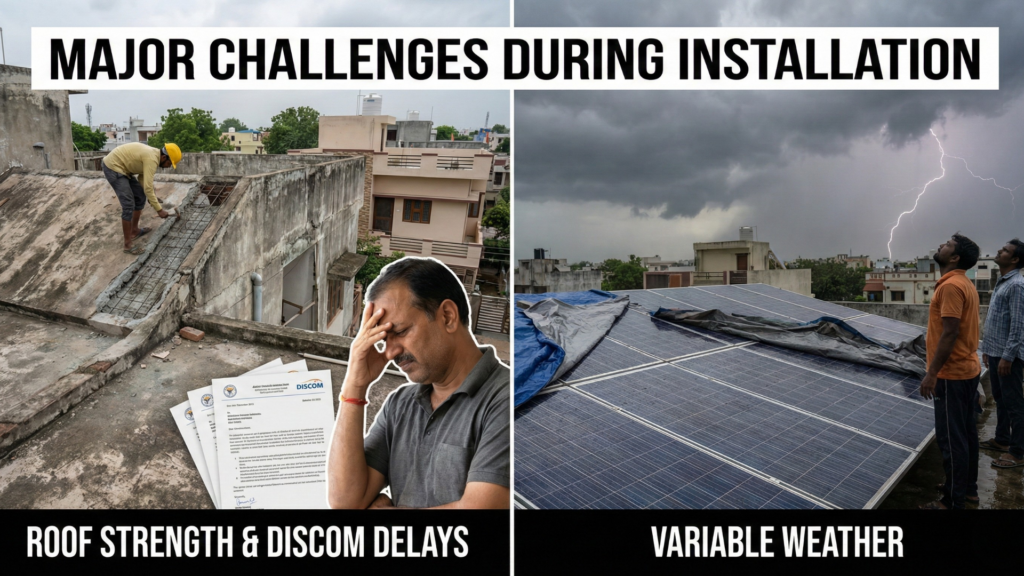
Even with top-tier residential rooftop solar installers, hiccups can happen. Being aware of them helps you manage expectations:
- Roof Strength Issues: Sometimes, older roofs need reinforcement before panels can be mounted. A good installer will identify this during the survey, not on installation day.
- DISCOM Delays: In states like Uttar Pradesh or Karnataka, net meter availability can sometimes cause delays of 1-2 weeks. This is usually out of the installer’s control.
- Variable Weather: Installation cannot happen during heavy rains or high winds for safety reasons.
Questions to Ask Your Residential Rooftop Solar Installers Before Signing
- “Will you handle the entire net metering application, or do I have to visit the electricity board?”
- “What brand of cables and earthing kits do you use?” (AC/DC cables should be UV resistant).
- “Do you provide a workmanship warranty against roof leaks?”
- “Are the solar panels DCR (Domestic Content Requirement) compliant?” (Mandatory for subsidies).
Conclusion
Going solar is not just a product purchase; it is a construction project and a regulatory process rolled into one. The timeline from the first site visit to seeing your electricity bill drop to zero usually spans 30 to 45 days. While the hardware (panels and inverters) is important, the service quality of your residential rooftop solar installers determines the success of your project.
By choosing a certified, experienced partner and understanding the timeline, you can navigate the transition to green energy smoothly. The sun provides the energy for free, but your installer ensures you can actually use it.
Frequently Asked Questions (FAQs)
Q1: How much time does the actual installation take on my roof?
Ans: For a standard home system (3kW to 10kW), the physical work on your roof takes only 2 to 4 days. The rest of the time is spent on system design, approvals, and net meter processing.
Q2: Can I install the system myself to save money?
Ans: No. In India, to avail of the subsidy and net metering benefits, the system must be installed by an impaneled or certified vendor. DIY installations are not connected to the grid and will not reduce your electricity bill effectively.
Q3: Do residential rooftop solar installers help with the subsidy?
Ans: Yes, professional installers will guide you through the registration on the National Portal, upload the necessary technical documents, and ensure the system meets the technical standards required for the subsidy release.
Q4: What happens if my roof is not south-facing?
Ans: You can still go solar! Experienced residential rooftop solar installers can use elevated structures (high-rise mounting) to angle the panels toward the South, or use “Optimizers” to minimize generation loss from non-ideal directions.
Q5: Is regular maintenance required after installation?
Ans: Yes. The most important maintenance is cleaning the panels (removing dust/bird droppings) every 2 weeks. Most installers offer an Annual Maintenance Contract (AMC) for electrical health checks.