")
Rising electricity bills are a major concern for every Indian household. To tackle this, the Government of India launched the PM Surya Ghar Muft Bijli Yojana, aimed at providing free electricity to over 1 crore families. While the benefits are clear, many homeowners find the online process confusing. This comprehensive guide covers everything you need to know about the scheme, including how to apply for solar subsidy, the complete registration steps, and how to use the official login portal to track your application status.
What is the PM Surya Ghar Muft Bijli Yojana?

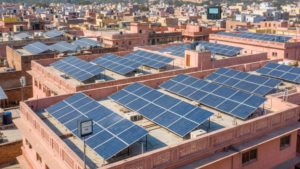
The PM Surya Ghar Muft Bijli Yojana is a central government scheme designed to solarize Indian rooftops. Unlike previous schemes where the subsidy process was manual and slow, this new initiative uses a digital-first approach through the National Portal for Rooftop Solar.
Key Highlights:
- Target: 1 Crore households.
- Benefit: Up to 300 units of free electricity per month.
- Subsidy: Direct Benefit Transfer (DBT) to the consumer’s bank account within 30 days of commissioning.
- Loan Facility: Collateral-free loans available at low interest rates (around 7%) for systems up to 3 kW.
Before we dive into how to apply for solar subsidy, let’s look at the financial benefits.
Subsidy Structure 2025 (Table 1)
The government has simplified the subsidy calculation. It is no longer a percentage of the total cost but a fixed amount based on the capacity of the system you install.
| System Capacity | Subsidy Amount (Central Financial Assistance) | Suitable For (Monthly Consumption) |
| 1 kW | ₹ 30,000 | 0 – 150 Units |
| 2 kW | ₹ 60,000 | 150 – 300 Units |
| 3 kW and Above | ₹ 78,000 (Fixed Cap) | Above 300 Units |
Note: The subsidy is capped at 3 kW. If you install a 5 kW or 10 kW system, you will still receive the maximum fixed subsidy of ₹78,000.
How to apply for solar subsidy under PM Surya Ghar Scheme
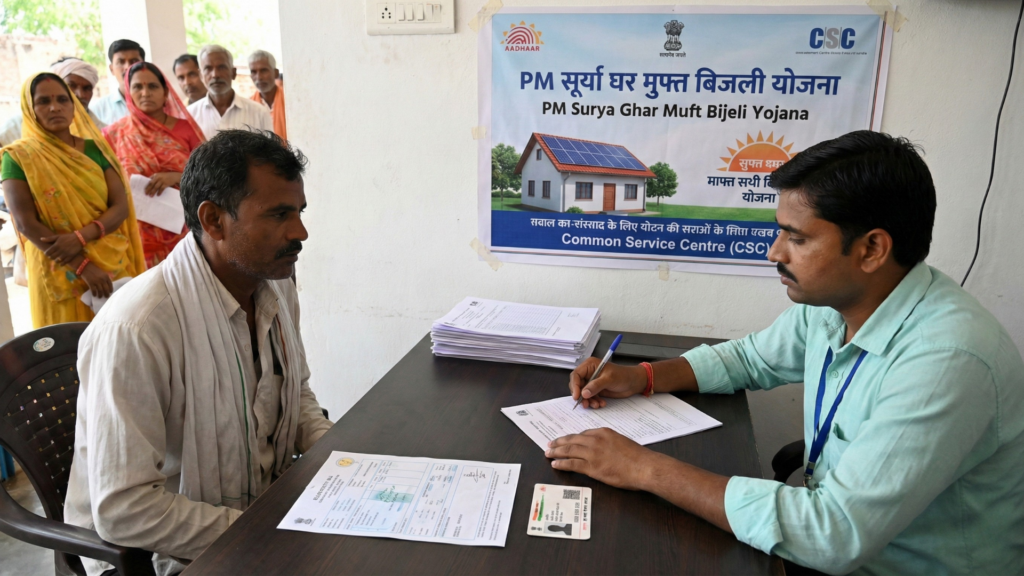
If you are ready to switch to solar, you must follow the correct online procedure. The entire process is paperless and handled through the official portal pmsuryaghar.gov.in. Learning how to apply for solar subsidy correctly ensures your application is not rejected by the DISCOM (Distribution Company).
Below is the detailed, step-by-step process.
Step 1: Registration on the National Portal
- Visit the official website: pmsuryaghar.gov.in.
- Click on the “Apply for Rooftop Solar” button.
- You will be asked to register by selecting your:
- State (e.g., Rajasthan, Maharashtra, UP).
- District.
- Electricity Distribution Company (DISCOM).
- Consumer Account Number (as mentioned on your electricity bill).
- Enter your Mobile Number and verify it via OTP.
- Enter your Email ID (optional but recommended) to complete the registration.
Step 2: Login and Apply
Once registered, log in using your consumer number and mobile number.
- Fill out the application form. You will need to provide details about the rooftop area available and the capacity of the solar plant you wish to install (e.g., 3 kW).
- Upload a copy of your latest electricity bill.
- Submit the application.
At this stage, your application goes to your local DISCOM for a feasibility check. They verify if the local transformer can handle the solar load. This usually takes 2-7 days.
Step 3: Installation by Empanelled Vendor
Once you receive the “Feasibility Approval” email/SMS:
- Log in to the portal again.
- You will see a list of Empanelled Vendors in your district.
- Select a vendor and sign an agreement with them.
- The vendor will install the solar panels, inverter, and structure on your roof.
Crucial Note: To successfully understand how to apply for solar subsidy, you must know that you cannot install the system yourself or use a non-approved local electrician. Only systems installed by registered vendors are eligible for the subsidy.
Step 4: Net Metering Application
After the physical installation is complete:
- Apply for a Net Meter on the portal.
- The DISCOM officials will visit your home to inspect the system and install the Net Meter (a bi-directional meter that records both electricity import and export).
- They will generate a Commissioning Certificate (CC) on the portal.
Step 5: Subsidy Disbursement
This is the final step in how to apply for solar subsidy:
- Once the commissioning certificate is generated, log in to the portal.
- Click on “Claim Subsidy”.
- Enter your Bank Account details and upload a Cancelled Cheque or Passbook copy.
- The subsidy amount will be credited directly to your bank account within 30 days.
Documents Required to Apply for Solar Subsidy
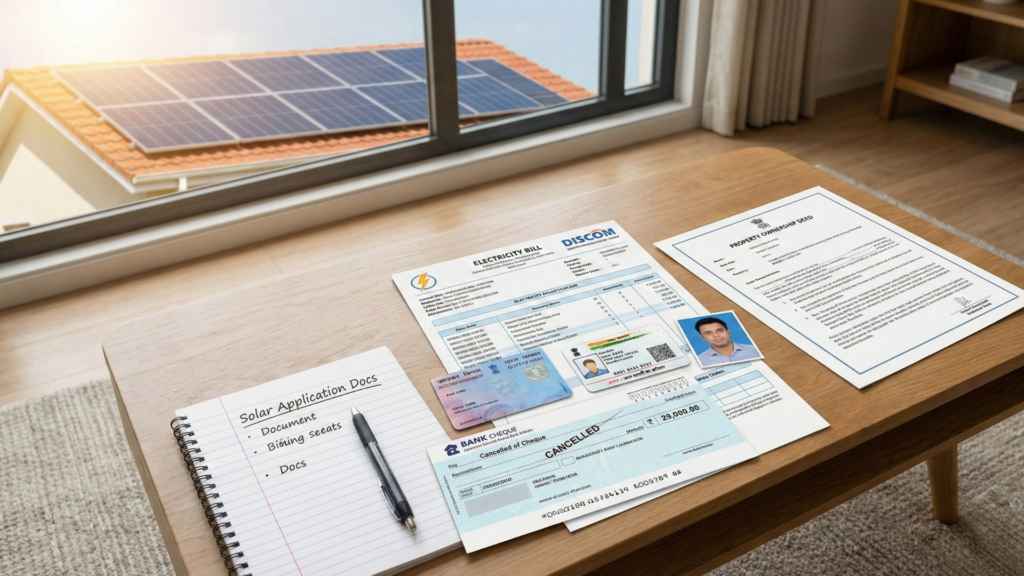
When researching how to apply for solar subsidy, many applicants get stuck because of mismatched documents. Ensure your name on the electricity bill matches your Aadhaar card and bank account.
Here is the checklist of documents you will need during different stages of the process.
Documentation Checklist (Table 2)
| Document Name | Purpose | Stage Required |
| Electricity Bill | Proof of Consumer Number & Load | Registration Stage |
| Aadhaar Card | Identity Verification | Application Stage |
| Property Ownership Proof | Proof of Roof Rights (Registry/Tax Receipt) | Feasibility Check (Depends on State) |
| NOC (No Objection Cert) | If applying for apartments/shared roofs | Before Installation |
| Cancelled Cheque | For Bank Account Verification | Subsidy Claim Stage |
| Commissioning Report | Proof of completion | Provided by Vendor/DISCOM |
Eligibility Criteria for PM Surya Ghar Scheme
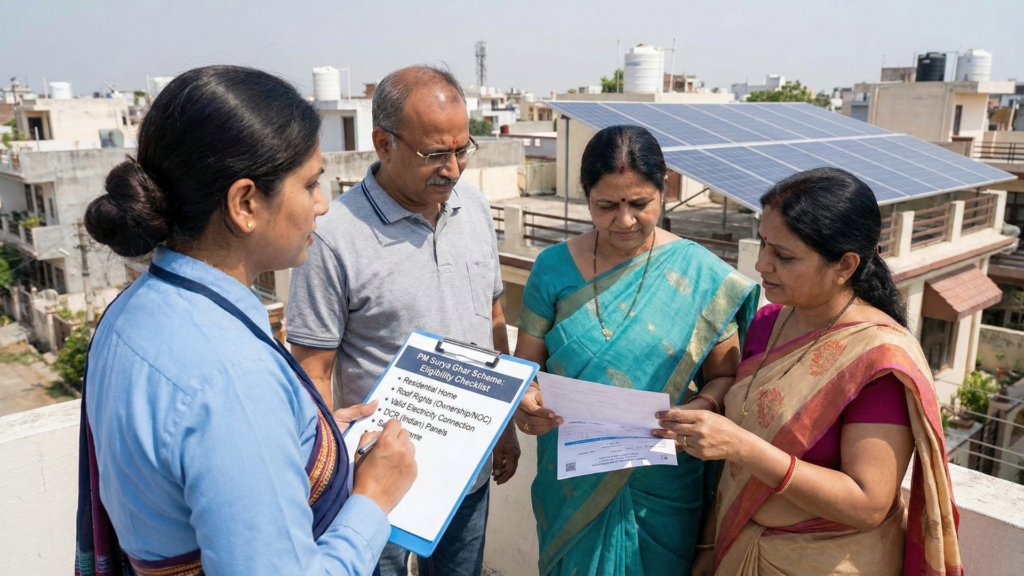
Not every building is eligible for the Central Subsidy. The scheme is strictly for Residential Sectors.
- Residential Homes: Individual households are fully eligible.
- Group Housing Societies (GHS) / RWAs: They can apply for a subsidy for common area lighting (EV charging, lifts, parks) up to 500 kW. The subsidy is calculated at ₹18,000 per kW per house.
- Institutions & Commercial: Offices, schools, factories, and shops are NOT eligible for the Central Subsidy under this specific scheme (though they can avail of tax depreciation benefits).
Indigenous Components: The solar panels (PV Modules) used must be “Made in India” (DCR – Domestic Content Requirement). Imported panels do not qualify for the subsidy.
Financial Benefits: Is Solar Subsidy Worth It?

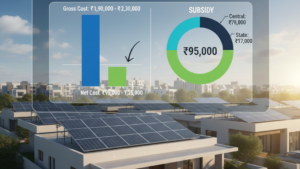
Many people hesitate because of the upfront cost. Let’s break down the Return on Investment (ROI) for a typical 3 kW system in India.
- Total Cost (Approx): ₹ 1,50,000 – ₹ 1,70,000
- Government Subsidy: ₹ 78,000
- Net Cost to You: ₹ 72,000 – ₹ 92,000
- Electricity Savings per Year: ₹ 36,000 (Assuming ₹3,000 bill/month)
- Payback Period: 2 to 2.5 Years
After 2.5 years, your electricity is virtually free for the remaining lifespan of the solar panels (usually 25 years). This incredible ROI is why learning how to apply for solar subsidy is the smartest financial decision for Indian homeowners in 2025.
Common Mistakes When You Apply for Solar Subsidy
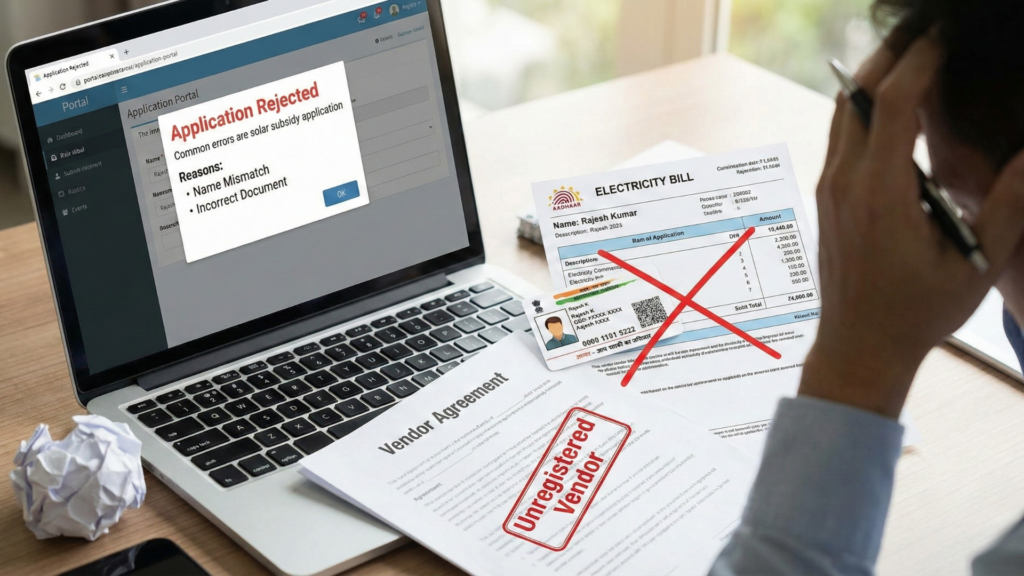
When you are figuring out how to apply for solar subsidy, avoid these common pitfalls that lead to rejection:
- Name Mismatch: If the electricity bill is in your father’s name (who is deceased) or a previous owner’s name, you must get the name changed on the bill before applying. The bank account name and electricity bill name must match.
- Load Mismatch: You cannot install a 5 kW solar system if your sanctioned electricity load is only 1 kW. You must apply for a “Load Enhancement” with your electricity department first.
- Wrong Vendor: Hiring a vendor who is not registered on the National Portal will disqualify you from the subsidy, even if they use Indian panels.
Conclusion
The PM Surya Ghar Muft Bijli Yojana is a game-changer for India’s energy sector. It simplifies the transition to green energy by making it affordable and accessible. By following the steps outlined above—registering on the portal, choosing the right vendor, and submitting accurate documents—you can easily secure your subsidy.
Now that you know how to apply for solar subsidy, the next step is to check your latest electricity bill and visit the official portal. The process is transparent, and with the fixed subsidy of ₹78,000 for 3kW systems, the financial burden is significantly reduced.
Start your solar journey today and contribute to a greener India while saving lakhs of rupees on electricity bills over the next two decades.
Frequently Asked Questions on How to Apply for Solar Subsidy
Q1: What is the official website to learn how to apply for solar subsidy?
A: The only official website for the central government scheme is pmsuryaghar.gov.in. Do not register on third-party private websites claiming to offer subsidies.
Q2: Can I get a subsidy for a 5 kW system?
A: Yes, you can install a 5 kW system, but the subsidy amount is capped at the 3 kW level. You will receive a maximum of ₹78,000, regardless of how large the system is above 3 kW.
Q3: How long does it take to get the money in the bank?
A: After the Net Meter is installed and you have submitted your bank details on the portal, the subsidy is usually credited within 30 days.
Q4: Is the solar loan available for everyone?
A: Yes, major banks like SBI, Canara Bank, and Union Bank offer specific “PM Surya Ghar” loans. You can apply for these loans directly through the Jan Samarth link available inside the solar portal after registration.
Q5: Can I apply if I live in a rented house?
A: No, the applicant must usually be the owner of the property or have legal rights to the roof.33 If you are a tenant, the landlord must apply in their name.